How to Choose the Right Ductless Mini-Split Size for Homes in Centerville, UT
Ductless mini-splits can solve tricky comfort problems in Centerville homes, from historic bungalows with limited attic space to split-levels that never seem even. Getting reliable performance, though, depends less on the brand name and more on two decisions you make up front: capacity sizing and equipment placement. In a climate with cold, sometimes snowy winters and hot, sunny summers, those choices affect how an inverter compressor modulates, how quietly the indoor air handler runs, and how well the system handles defrost cycles. Here is a practical, design-first way to plan a ductless install or replacement around real rooms and real weather.
- Start With a Real Load Calculation, Not a Rule of Thumb
The BTU rating stamped on a wall-mounted head should match the room’s heating and cooling load, not a generic square-foot guideline. A Manual J load calculation accounts for insulation levels, window orientation and size, infiltration, vaulted ceilings, and internal gains from kitchens or electronics. Ductless heads commonly come in 9,000, 12,000, and 18,000 BTU capacities, but an open-plan living room with west-facing glass can quickly outgrow a one-size pick. For localized guidance on replacement planning, resources that focus on ductless mini splits in Centerville, UT can help you think through timing, scope, and compatibility with your home’s envelope.
Capacity decisions ripple through efficiency and comfort. Oversizing can force short run times that undercut an inverter’s turndown ratio, reduce coil temperature stability, and raise sound levels as the fan ramps up and down. Undersizing leaves the unit stuck at high speed during hot July afternoons or on windy January nights, which can increase defrost frequency and visible frost on the outdoor coil. When comparing equipment, look at SEER2 and HSPF2 ratings alongside the published low-ambient heating capacity curve to confirm that the model you choose can sustain meaningful output as temperatures drop.
- Place Indoor Air Handlers for Airflow and Sensor Accuracy
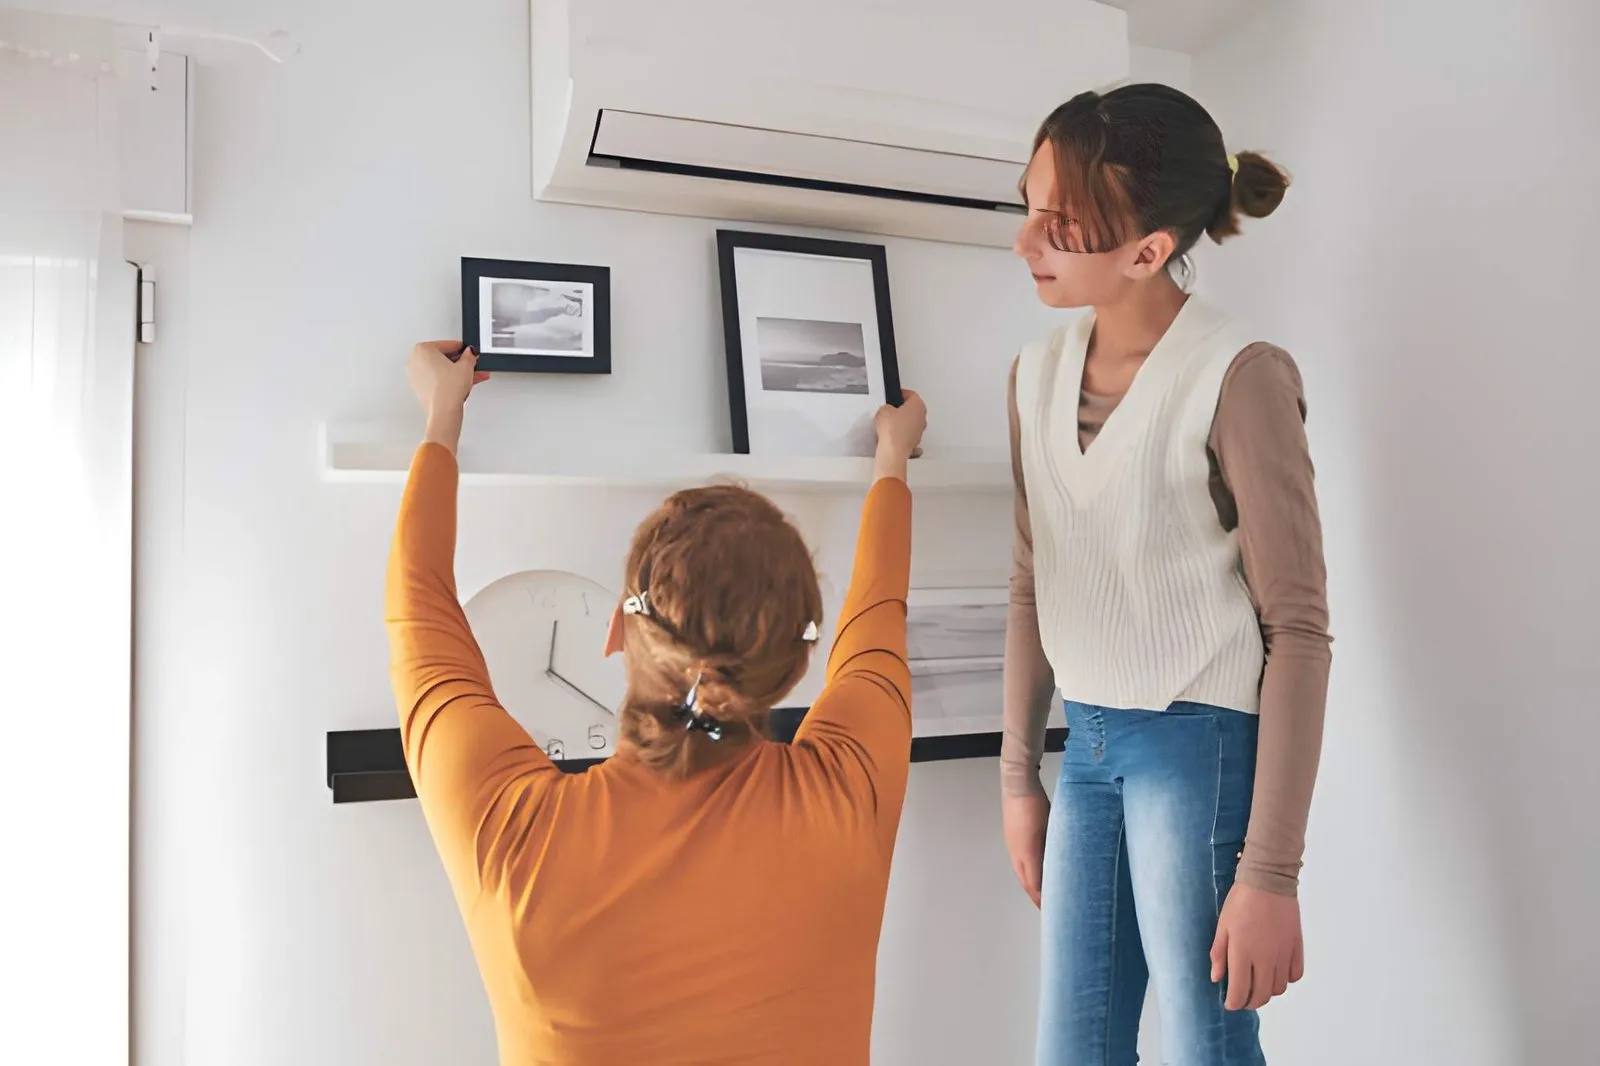
Where you mount a wall cassette determines how air washes across the space and what the thermistor “feels.” Avoid tucking a head into a corner, above a doorway, or directly opposite a sofa where the throw will hit occupants in the face. Most manufacturers specify top and side clearances so the vanes can swing and the coil can breathe; following those keeps the airflow pattern intact. In an open plan, aim the louvers to direct air across the room’s longest dimension and toward adjacent hallways, so mixing continues after the compressor ramps down.
Bedrooms call for a different strategy. Keep heads away from bed pillows to reduce perceived drafts at night, and use quiet fan-speed presets when the size is close to the calculated load. Shelves, curtain rod returns, and tall armoires right under the unit can block return air and confuse the temperature sensor, causing the unit to overshoot or short-cycle. Whatever the room, plan for easy access to washable filters and the coil face, so routine cleaning isn’t a chore that gets skipped.
- Set the Outdoor Condenser Up for Winter in Davis County
Cold-climate performance is about more than just a low ambient rating. Mount the outdoor condenser on wall brackets or a sturdy stand so it sits well above typical snow accumulation and drifting near fences. Keep it out from under roof drip lines where ice can fall onto the fan guard. During defrost, melted ice and condensate need a clear path away from the unit; route discharge so it does not pool on a sidewalk and refreeze. In snow-prone spots, a unit with a base pan heater can help prevent ice buildup under the coil during prolonged cold snaps.
Clearance around the coil matters in every season. Leave room at the back and sides for air intake, and do not enclose the unit in a tight lattice that starves it of airflow. Avoid placing it near a dryer vent, gas meter, or car exhaust where lint or fumes can contaminate the coil. Line-set insulation should be protected with UV-stable line hide, and penetrations should be sealed to keep out rodents and water. Shorter, straighter refrigerant runs typically improve efficiency and simplify service, especially when elevation differences between indoor and outdoor components are modest.
- Plan Electrical and Refrigerant Paths Before You Commit
A ductless heat pump needs a dedicated 240-volt circuit sized to the outdoor unit’s nameplate amperage, along with a weather-rated disconnect within sight. Think through the breaker panel’s spare capacity, conduit routing to the condenser, and where to bond and ground per code. Placing the disconnect clear of snow and ice makes winter service safer. Surge protection can help protect the inverter board during summer thunderstorms, and securely fastening the whip prevents wind fatigue on the fittings.
On the refrigerant side, manufacturer limits for line-set length and vertical separation are not suggestions. Long runs can reduce capacity, affect oil return, and require an additional refrigerant charge that must be weighed in precisely. Flare connections should be properly torqued, pressure-tested with nitrogen, and evacuated to a deep vacuum before opening the service valves. Indoors, plan the condensate drain with a continuous gravity fall to an appropriate termination; if gravity is not possible, specify a quiet condensate pump and include an accessible cleanout to address biofilm.
- Choosing Single-Zone vs Multi-Zone for Real Rooms
Some homes are best served by several single-zone systems, each with its own outdoor condenser and dedicated head. Others fit a multi-zone setup using a multi-port outdoor unit or a branch box feeding two to five heads. Multi-zone gear reduces the number of outdoor boxes but can limit turndown if only one small zone calls, and capacity sharing means a large call in one room can starve another during extreme weather. Multiple single-zone systems cost more in outdoor hardware but offer redundancy if one condenser needs service.
Consider how you actually use the rooms. Example one: a finished space over the garage that bakes in late afternoon and a basement TV room that is cool year-round rarely need heating or cooling at the same time. Two single-zone units let each space run only when occupied. Example two: a single-story ranch with three closed-door bedrooms and a great room. A three-head multi-zone system can deliver steady comfort to the bedrooms without relying on doors staying open, while the great room uses a larger single-zone unit for open-area loads. In both scenarios, door position, stairwell placement, and ceiling height shape whether air from one head can condition adjacent spaces.
Good ductless outcomes in Centerville are designed, not guessed. A room-by-room load calculation, thoughtful head placement, and a winter-ready outdoor setup do more for comfort than any spec sheet alone. Before buying equipment, map the electrical and refrigerant paths, decide whether a single- or multi-zone architecture actually fits how you live, and plan routine care, like filter cleaning and keeping the condenser clear of snow. Those steps let a variable-speed mini-split modulate quietly, maintain setpoints in both heating and cooling, and serve your home efficiently for years.